Hello again,
the other day some crafty friends of mine were discussing what we felt were the
basic tools and equipment a new crafter would need in their starter kit. It was
interesting to see how some things we totally agreed on while others sparked a
little debate. We also had our own favourites that we just couldn’t manage
without.
With this in
mind I’ve decided to put together a list of the basics that can be added to
over time. It’s by no means a definitive list, however, get the right equipment
for you and your needs and you can save a fortune on gimmicks and unnecessary
tools.
 1. Something to cut paper and Cardstock with
That sound
quite vague doesn’t it? It can be as basic as a scalpel, ruler and cutting mat
or a good quality paper cutter whether it’s guillotine, paper trimmer or rotary
trimmer. Whilst I use my paper trimmer most of the time, I confess there are
some jobs that I much prefer to use a scalpel and mat for. Stampin Up have a
brilliant Paper Trimmer that is lightweight and portable. It comes with 2
blades, one for cutting and the other for scoring. It also has a storage
compartment so you don’t lose spare blades.
A dull edged
tool essential for making a crisp fold on paper and cardstock. It scores and
burnishes as well as shaping and distressing cardstock. Don’t make the mistake
of thinking you can just fold card, if you look at a card folded and burnished
with a bone folder, you will see the quality is far above that of folded only.
3, Scissors
People will
tell you that you need several pairs of scissors, each kept for their own
specific job. Whilst this is an ideal, I feel it’s better to invest in one good
pair to start with then possibly add another pair for cutting ribbon when able
to. Stampin Up Paper Snips have 2.5” (6.4cm) blades and are made of stainless
steel. They have cushion grip handles and come with a safety cover to protect
the blades.
4. Grid paper
Such a
godsend. Table protector, ruler, notepad and stamp tester all rolled into one!
I really can’t be without this product. It has so many uses, not least aiding
the precise placement of objects. Use
Grid Paper on your table and never again will you complain of
“wonky” cards.
This is a very
subjective topic, crafters all have their favourites. I can say that you will
need more than one type as each has their own place in the crafter’s stash. For
general use I like to use Tear and Tape, it’s ideal for making boxes and 3D
items as well as layering cardstock. The Fine Tip Glue Pen is perfect for
adhering intricate die cuts, glitter and tiny embellishments. I use Mini Glue
Dots for sticking down ribbon and heavier embellishments. Stampin Dimensionals
add depth to a project while Foam Adhesive Strips make creating shaker cards a
breeze.
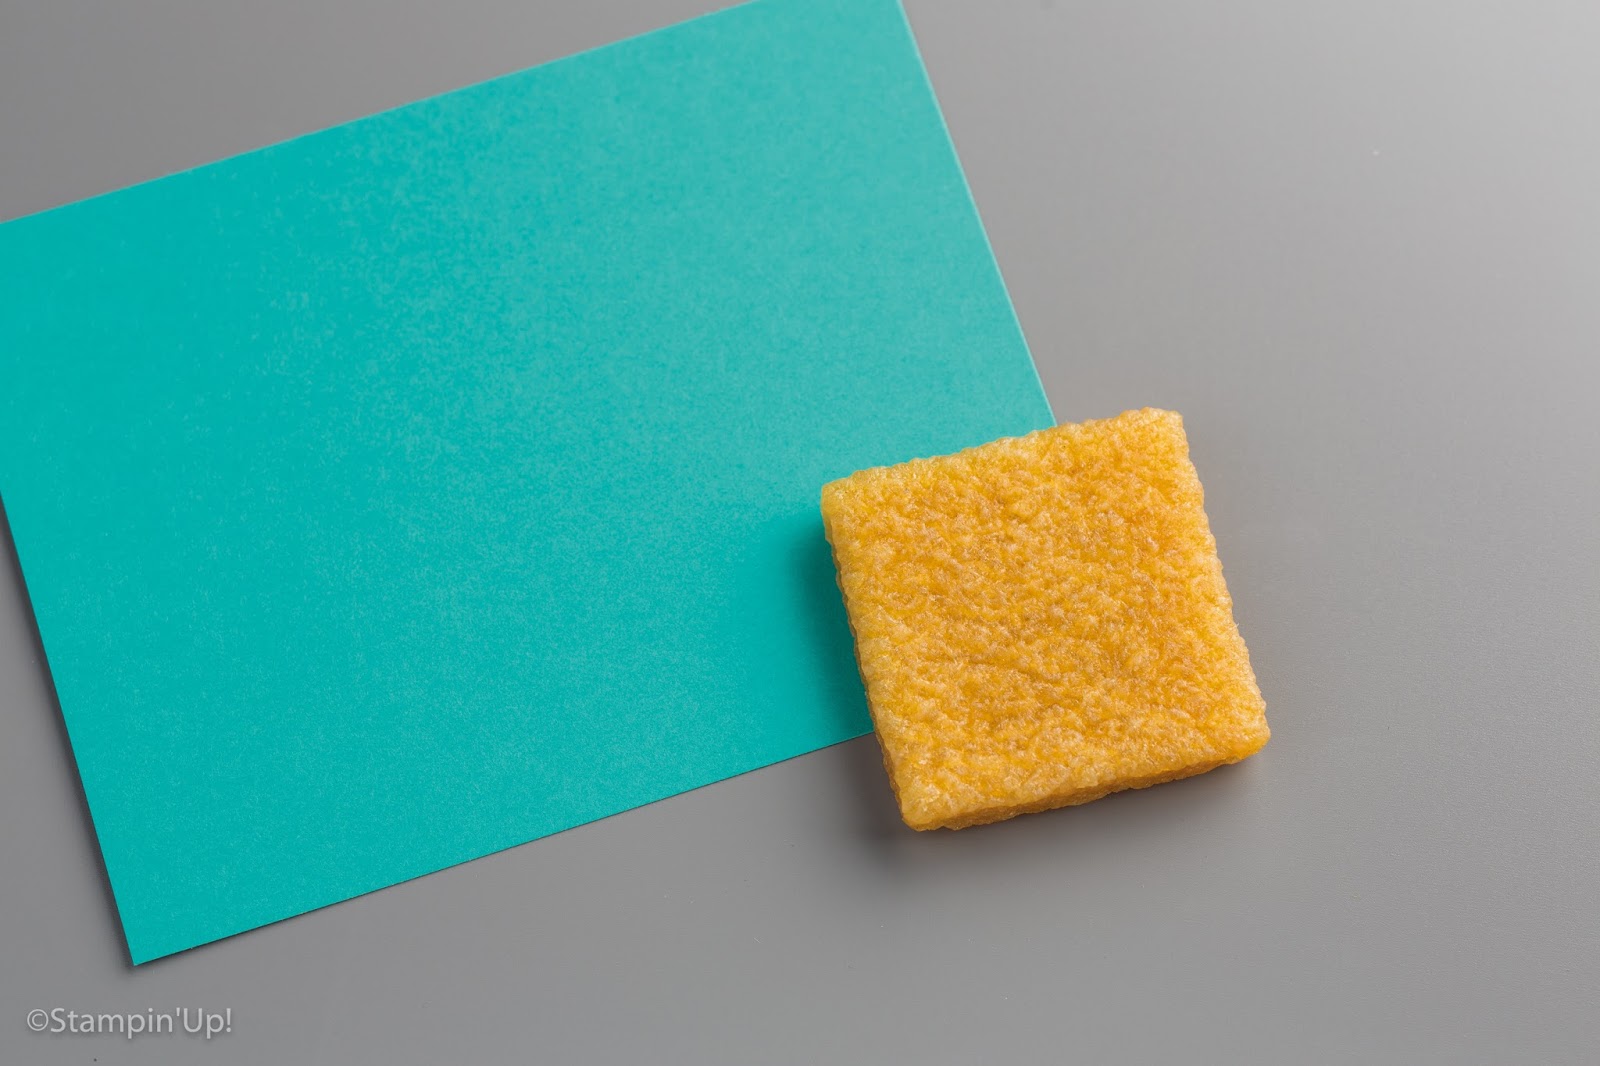
An absolute
necessity if you happen to be a little clumsy like me. This 2” square gem has
saved countless projects from the bin! It erases glue that somehow dripped or
smeared in the wrong place. Now you don’t have to reach for extra
embellishments to cover up an unsightly splodge of glue.
7. Score board
Although the Paper Trimmer scores, if you are going to make boxes and 3D projects Simply Scored is the perfect addition to your craft room. This one has grooves every 1/8" and has a ruler across 2 sides. For those who have converted to metric there is an insert available.
These items will get you started. At the beginning I mentioned must haves for the individual. Mine include tweezers which are invaluable for picking up and placing gems, sequins and very small embellishments. I have several pairs including pointed tip and slanted. I also have layering tools to ensure that when I layer cardstock, I have a perfectly even border all around.
Of course this is only the beginning; there are tools for heat embossing, die cutting, stamping...
...the list is endless.