I used the Falling Petals TIEF on a piece of white card stock slightly smaller than my card front. The sentiment was stamped directly onto the embossed card in Real Red. A punched - you could use a die cut - heart was placed bottom right to create balance.
Showing posts with label Valentine. Show all posts
Saturday, 27 January 2018
Valentine, where art thou?
It's that time of year again. Christmas and the New Year are long forgotten now the bins have been emptied and the last of the turkey finally eaten. Spring and Easter are on the horizon, but first we have Valentines Day. I feel obliged to make a card or two. not that I'll be sending any. My first one is very simple and I hope elegant. Mainly white, with just a touch of colour.
I used the Falling Petals TIEF on a piece of white card stock slightly smaller than my card front. The sentiment was stamped directly onto the embossed card in Real Red. A punched - you could use a die cut - heart was placed bottom right to create balance.
For added interest without making it too fussy, I punched a small heart out of the larger one and inserted a gold heart in the space. Gold metallic thread was looped and placed behind to finish it. Such a quick and easy card to make. I hope you like it.
I used the Falling Petals TIEF on a piece of white card stock slightly smaller than my card front. The sentiment was stamped directly onto the embossed card in Real Red. A punched - you could use a die cut - heart was placed bottom right to create balance.
Saturday, 4 February 2017
Valentine take 2
That has now changed, today's card is a quick and easy Valentine card using Washi tape as the main focus. In the past I'd use DSP but that would involve lots of measuring and cutting so wasn't quite so ideal for an "I need it now" card.
My base card is Night of Navy and I cut a piece of Whisper White a little smaller so that I would have a narrow navy border showing. I die cut a heart in this piece of cardstock so this will be the front of the finished card. A couple of rows of tape were placed across the front under the heart and a simple stamped sentiment below that. I then cut another piece of Whisper White slightly smaller still and placed my Washi tape - Affectionately Yours - at a 45° angle, building up the rows until the cardstock was covered. If using a light base colour, you could just put washi tape directly onto it, remembering to leave a clear edge all the way round. I then attached the card with the heart cut out over the washi tape using dimensionals so that it was raised slightly. This in turn was attached to the base card using double sided tape.
So that's the basic card but to turn the card from now to WOW I have a couple of ideas.
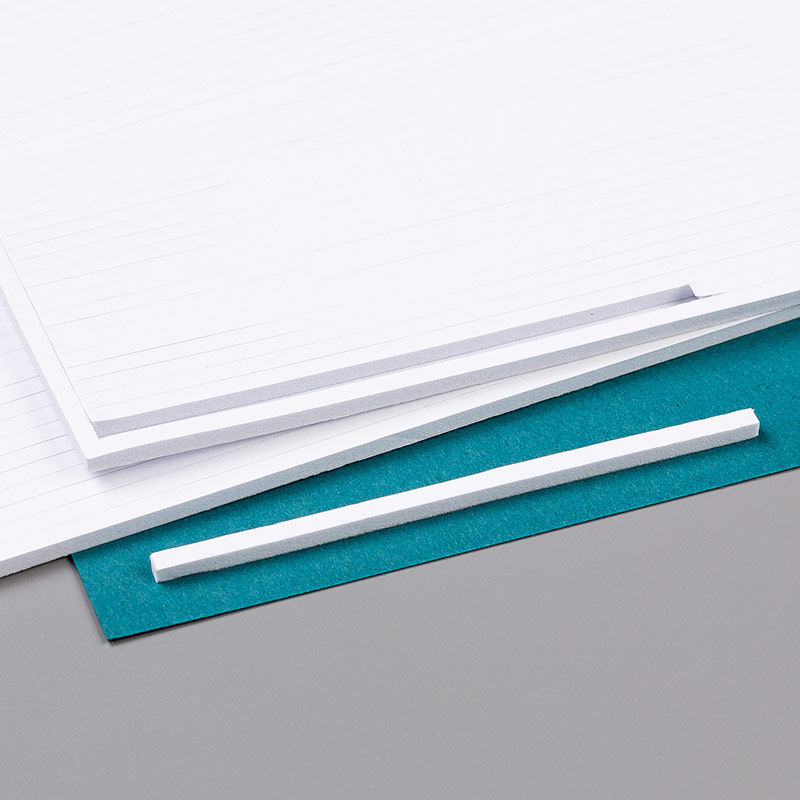
First of all you could make a shaker card. To do this you would need to place acetate directly behind the heart. Place foam adhesive strips around the heart ensuring there are no gaps for the filling to escape.
There are several options for the shaker part including beads, sprinkles, sequins or die cut hearts or flowers. Do remember to add whatever you are using before attaching the backing. I know it may seem obvious to say but trust me, I've seen someone forget to add their sequins before now and then have to carefully peal the card apart to add them!
My next idea is to die cut and layer some flowers - around 3 would be good and place them to the lower right of the heart.For balance add something to the top left. I love butterflies so tend to choose them. An alternative is to stamp Bee mine or Bee my Valentine and, you've guessed it, add a die cut bee.
I'm sure you have lots of ideas of your own. For this post though I just wanted to demonstrate how you can make a simple and effective card with very little equipment and time. Obviously if you have the time and die sets you can quickly step up the basic card to create something quite spectacular. Keep looking out and at some point soon I'll feature a now to WOW design her
Saturday, 21 January 2017
Be My Valentine
Hello again, goodness 2017 is already off to a flying start. With Valentines Day on 14th February and Mother's Day hot on the heels in March, the 26th to be precise there are plenty of opportunities to get creative. I also have a family birthday, the day before Valentines Day when my eldest, my son Adam, will be 27.
For today though, I thought I'd best concentrate on Valentines Day cards. I don't know about you, but I much prefer clean simple lines - even humorous - but most definitely not soppy and slushy.
For today's card I took inspiration from Becky at Scrappin and Stampin in GJ after I found her card on Pinterest, so thank you Becky, I hope you like what I've done with your original idea.
For my card I used Cherry Cobbler, Crumb Cake and Whisper White. My card base was Cherry Cobbler; red, the colour of love...
I used Crumb Cake on the splatter stamp from Gorgeous Grunge and randomly placed on the upper part of a piece of Whisper White cardstock. I then wrapped some Linen thread around and tied a bow.
For the next step I used 2 of the heart stamps from Hello Love, now discontinued. I managed to fussy cut both hearts (I'm really not a lover of having to fussy cut!), sticking one directly onto the white card while the other was raised slightly by using a couple of dimensionals.
A very simple sentiment, with love - not by Stampin Up - balanced the card. I also thought that 3 of the soft gold sequins from Fancy Frost Sequins would add just a little understated bling. As I'm sure you know, whenever adding embellishments like sequins, pearls or gems it's better to use an odd number, just like you would when putting plants in the garden.
For today though, I thought I'd best concentrate on Valentines Day cards. I don't know about you, but I much prefer clean simple lines - even humorous - but most definitely not soppy and slushy.
For today's card I took inspiration from Becky at Scrappin and Stampin in GJ after I found her card on Pinterest, so thank you Becky, I hope you like what I've done with your original idea.
![]() |
| Becky's Card |
For my card I used Cherry Cobbler, Crumb Cake and Whisper White. My card base was Cherry Cobbler; red, the colour of love...
...and passion, desire, strength and power!
I used Crumb Cake on the splatter stamp from Gorgeous Grunge and randomly placed on the upper part of a piece of Whisper White cardstock. I then wrapped some Linen thread around and tied a bow.
For the next step I used 2 of the heart stamps from Hello Love, now discontinued. I managed to fussy cut both hearts (I'm really not a lover of having to fussy cut!), sticking one directly onto the white card while the other was raised slightly by using a couple of dimensionals.
A very simple sentiment, with love - not by Stampin Up - balanced the card. I also thought that 3 of the soft gold sequins from Fancy Frost Sequins would add just a little understated bling. As I'm sure you know, whenever adding embellishments like sequins, pearls or gems it's better to use an odd number, just like you would when putting plants in the garden.
![]() |
| The inside of the card and envelope had a little decoration |
Subscribe to:
Posts (Atom)