Hello there, do you often use Washi tape on your cards? I have a confession to make, until I won some at a workshop I attended I didn't even own any, I just didn't think I would actually have a use for it.
That has now changed, today's card is a quick and easy Valentine card using Washi tape as the main focus. In the past I'd use DSP but that would involve lots of measuring and cutting so wasn't quite so ideal for an "I need it now" card.
My base card is Night of Navy and I cut a piece of Whisper White a little smaller so that I would have a narrow navy border showing. I die cut a heart in this piece of cardstock so this will be the front of the finished card. A couple of rows of tape were placed across the front under the heart and a simple stamped sentiment below that. I then cut another piece of Whisper White slightly smaller still and placed my Washi tape - Affectionately Yours - at a 45° angle, building up the rows until the cardstock was covered. If using a light base colour, you could just put washi tape directly onto it, remembering to leave a clear edge all the way round. I then attached the card with the heart cut out over the washi tape using dimensionals so that it was raised slightly. This in turn was attached to the base card using double sided tape.
So that's the basic card but to turn the card from now to WOW I have a couple of ideas.
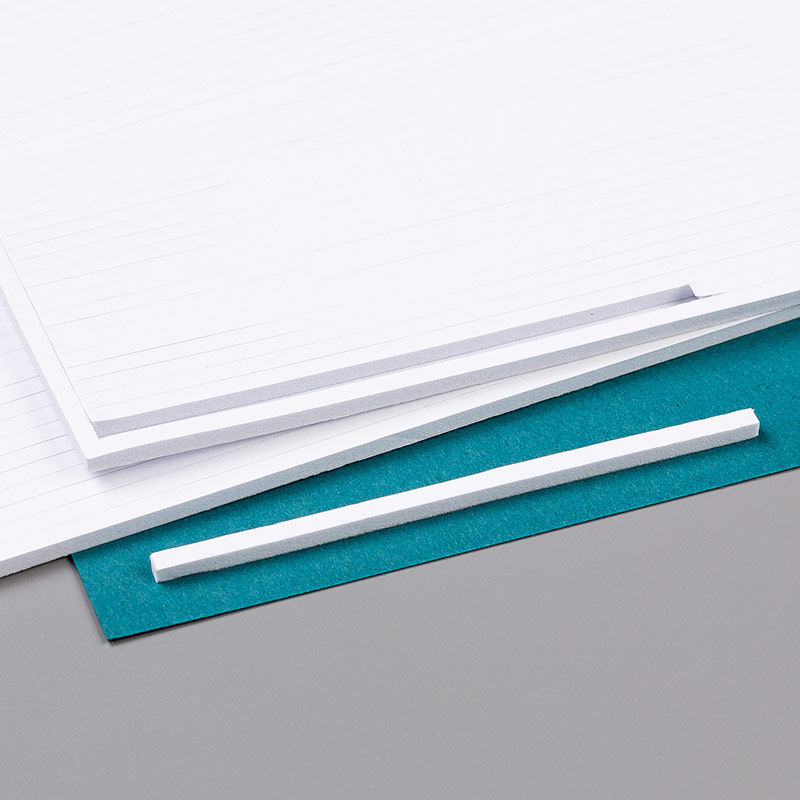
First of all you could make a shaker card. To do this you would need to place acetate directly behind the heart. Place foam adhesive strips around the heart ensuring there are no gaps for the filling to escape.
There are several options for the shaker part including beads, sprinkles, sequins or die cut hearts or flowers. Do remember to add whatever you are using before attaching the backing. I know it may seem obvious to say but trust me, I've seen someone forget to add their sequins before now and then have to carefully peal the card apart to add them!
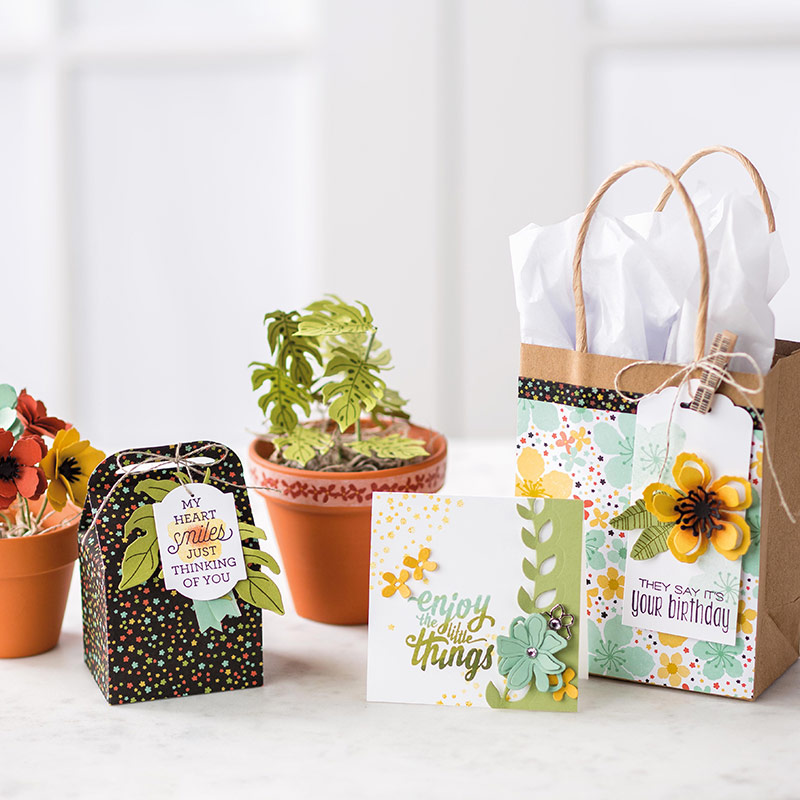
My next idea is to die cut and layer some flowers - around 3 would be good and place them to the lower right of the heart.
For balance add something to the top left. I love butterflies so tend to choose them. An alternative is to stamp Bee mine or Bee my Valentine and, you've guessed it, add a die cut bee.
I'm sure you have lots of ideas of your own. For this post though I just wanted to demonstrate how you can make a simple and effective card with very little equipment and time. Obviously if you have the time and die sets you can quickly step up the basic card to create something quite spectacular. Keep looking out and at some point soon I'll feature a now to WOW design her