Showing posts with label quick and easy. Show all posts

Saturday, 27 January 2018

Valentine, where art thou?

It's that time of year again. Christmas and the New Year are long forgotten now the bins have been emptied and the last of the turkey finally eaten. Spring and Easter are on the horizon, but first we have Valentines Day. I feel obliged to make a card or two. not that I'll be sending any. My first one is very simple and I hope elegant. Mainly white, with just a touch of colour.


I used the Falling Petals TIEF on a piece of white card stock slightly smaller than my card front. The sentiment was stamped directly onto the embossed card in Real Red. A punched - you could use a die cut - heart was placed bottom right to create balance.


For added interest without making it too fussy, I punched a small heart out of the larger one and inserted a gold heart in the space. Gold metallic thread was looped and placed behind to finish it. Such a quick and easy card to make. I hope you like it.


Saturday, 26 August 2017

Think I'm in Love...

On my last post I showed you a card I was commissioned to make for a birthday. Well I loved it so much that I made several more cards over the following days that were based on the same design. If you need to batch make cards or need one in a hurry this is so easy and so effective whether for Christmas as here with Merry mice, which has sadly been discontinued...


to say thank you to someone, using my favourite flower stamp, Birthday Blooms,,,


or to welcome a new baby, this time with Moon Baby...


The possibilities are virtually endless! 

Wednesday, 29 March 2017

A Little Piece of DSP Goes a Long Way!

Hello again, the other day I posted my first One Sheet Wonder. It got me thinking about using designer series paper more in my cards, particularly when I have just a small piece left that I can't bear to throw away!

This card only needed a piece of patterned paper approximately 1"x2". How cool is that? It goes to show that no matter how small, in crafting we can always find a use for it.


I used two of the Stitched Shapes Framelit dies to matt and layer 2 squares using the DSP. Then I stamped my sentiment onto Very Vanilla and put the same plain matt behind that. As you can see, extra interest was created by embossing the background. And sometimes, there really is a case for adding a little sparkle, this time a few sequins.


Monday, 27 March 2017

One Sheet Wonder

Hello again, I don't know about you but I keep seeing some fabulous cards created from one sheet of DSP. It can be an easy way of making a bunch of cards quickly. I'd been thinking about trying this idea out but hadn't got round to it. The idea of making a wrong cut on a precious sheet of 12"x12" DSP was too much to contemplate. Then I stumbled across this one, making four cards by using a 6"x6" sheet on Pinterest so thank you to Sylvia for sharing. Click on her name and it should take you to the blog.


I used a sheet from the Pretty Petals DSP, sadly now retired, which then dictated the plain colours I chose. I love butterflies, so the subject choice was very easy to make this time. I hate to say it but I am a creature of habit!

I also decided to stamp most of the sentiments onto the Stitched Shapes Framelit dies, they look that bit more interesting than plain shapes. I've noticed that some people haven't realised that the dies - 4 of each shape are stuck on both sided of the card in the pack. Circles and ovals on one side and squares on the other, so if you buy them please don't think you're missing some.

I tried to keep the designs pretty much on theme but with slight variations to make them more interesting. I really don't like making more than one of any design unless I actually need to.


A spot of 3 stage stamping on the butterflies...

...and a little water colouring


Even a length or two of ribbon for good measure.


For my first attempt I'm reasonably happy with these cards. I think it has given me the confidence to have a go with a 12"x12" piece of DSP which would give more variation of shapes, even reversing the paper as most of it is double sided. I've found that if you're really not sure of matching or coordinating colours, then this is a really good starting point.


Saturday, 4 February 2017

Valentine take 2


Hello there, do you often use Washi tape on your cards? I have a confession to make, until I won some at a workshop I attended I didn't even own any, I just didn't think I would actually have a use for it.

That has now changed, today's card is a quick and easy Valentine card using Washi tape as the main focus. In the past I'd use DSP but that would involve lots of measuring and cutting so wasn't quite so ideal for an "I need it now" card.


My base card is Night of Navy and I cut a piece of Whisper White a little smaller so that I would have a narrow navy border showing. I die cut a heart in this piece of cardstock so this will be the front of the finished card. A couple of rows of tape were placed across the front under the heart and a simple stamped sentiment below that. I then cut another piece of Whisper White slightly smaller still and placed my Washi tape - Affectionately Yours - at a 45° angle, building up the rows until the cardstock was covered. If using a light base colour, you could just put washi tape directly onto it, remembering to leave a clear edge all the way round. I then attached the card with the heart cut out over the washi tape using dimensionals so that it was raised slightly. This in turn was attached to the base card using double sided tape.


So that's the basic card but to turn the card from now to WOW I have a couple of ideas.

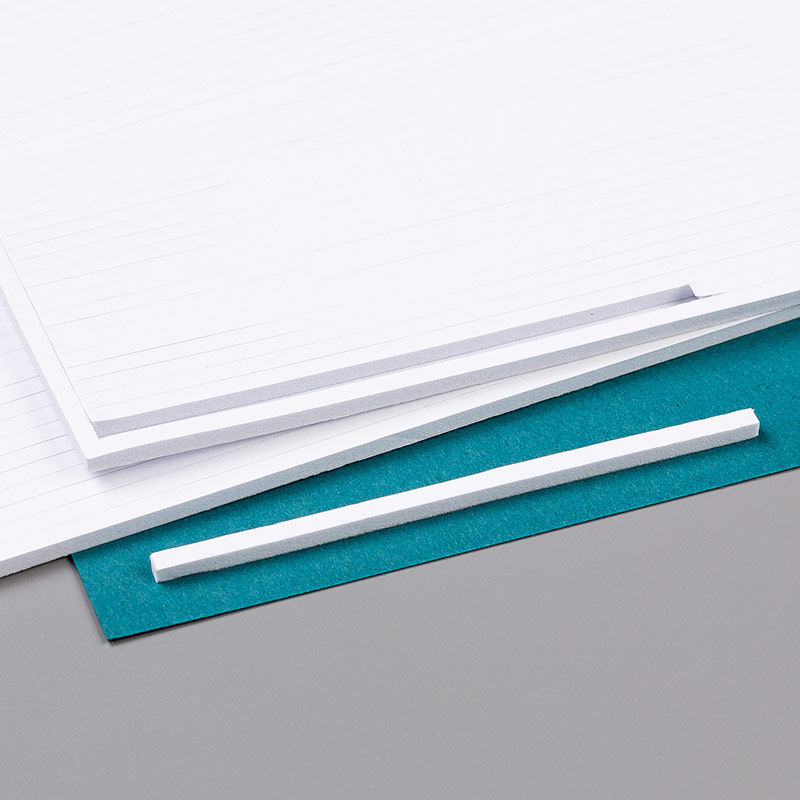
 First of all you could make a shaker card. To do this you would need to place acetate directly behind the heart. Place foam adhesive strips around the heart ensuring there are no gaps for the filling to escape.

There are several options for the shaker part including beads, sprinkles, sequins or die cut hearts or flowers. Do remember to add whatever you are using before attaching the backing. I know it may seem obvious to say but trust me, I've seen someone forget to add their sequins before now and then have to carefully peal the card apart to add them!
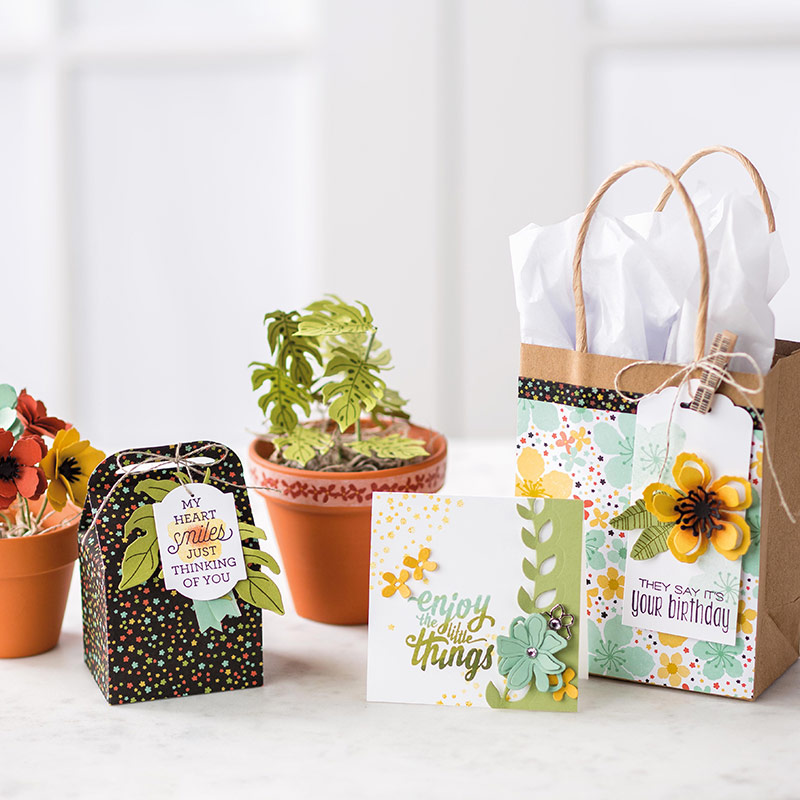

My next idea is to die cut and layer some flowers - around 3 would be good and place them to the lower right of the heart.

 For balance add something to the top left. I love butterflies so tend to choose them. An alternative is to stamp Bee mine or Bee my Valentine and, you've guessed it, add a die cut bee.

I'm sure you have lots of ideas of your own. For this post though I just wanted to demonstrate how you can make a simple and effective card with very little equipment and time. Obviously if you have the time and die sets you can quickly step up the basic card to create something quite spectacular. Keep looking out and at some point soon I'll feature a now to WOW design her


Saturday, 14 January 2017

All things Floral

Hello, it's back to normality after the excesses for Xmas and the new year. You would think after using a particular stamp set and corresponding dies to create wedding stationery for a friend I'd want a break from seeing it again for a while, wouldn't you?

The problem is that it is so versatile that after just a few days away, it found its way back on to my craft table. I really think that the Floral Phrases bundle is my favourite of the annual catalogue at the moment. It just looks so elegant and is perfect for so many occasions.


This is really quick and effective, so handy if you need a card in a hurry and I confess, CASE'd from Dianne Keough. I started by using sponge daubers to put colour onto a piece of white card in diagonal lines. A very light touch is needed when using the daubers. Remember, more colour can be built up but once on the paper, it's there to stay; you can't remove it if you have added too much. I then took another piece of card and used the Detailed Floral Thinlit dies. Once mounted, you get a very soft coloured effect showing through the pattern. A sentiment was stamped in the white space, bakers twine wrapped around with a bow and then it was put onto the base card.