Hello, it's Christmas Day and while I'm waiting for lunch to cook I thought I'd have a little play with the Merry Mice stamp set. My son pointed out that if they were real mice, I'd run a mile, which is probably quite true. These are so cute that I can't choose a favourite.
This set is from the Autumn/Winter catalogue and will be discontinued on 3rd January. At the moment it's still available and has been reduced in price, so if you want it and at a bargain price, please be quick as you only have a few days to place your order.
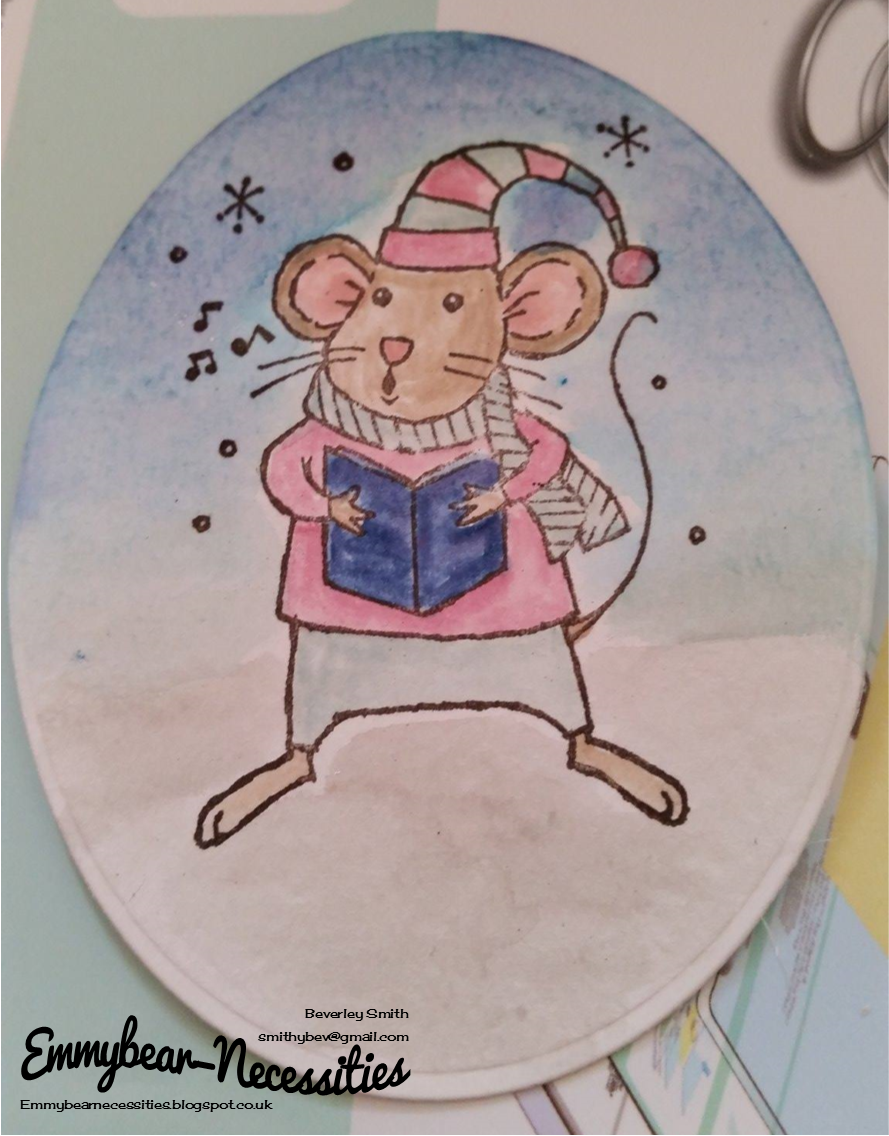
I chose to use a pastel palette, inspiration taken from the colours of the Fancy Frost Sequins, certainly not the usual colour choice for Christmas.
First of all I stamped the image onto watercolour paper and coloured the mouse in using the inkpads and a blender pen. For the sky, I used Soft Sky, Tempting Turquoise and Night of Navy, this time using an Aqua Painter to get a soft wash. Tip Top Taupe completed the ground.
I then chose an oval die to cut out the mouse and mounted it onto a slightly larger oval in Sweet Sugarplum from the latest In colour range.
Once again the Softly Falling embossing folder came into use - perfect for this time of year. The Merry Christmouse sentiment was stamped directly onto the white card before it was mounted onto the base card. After I'd added the ovals it struck me that a die cut star wouldn't look out of place. It also balances the sentiment.
One of the Starlight Thinlit dies was cut from White Glimmer paper for added sparkle. I think you can just about see the sparkle on the photo. And finally the card was completed with the addition of some sequins for a little bling. Louise, who I see at Coffee and Cards sessions would be proud of me! She loves to add bling to her cards, you can never have too much apparently.

As always, a little decoration inside the card and on the envelope to make it stand out from the crowd


 As always, a little decoration inside the card and on the envelope to make it stand out from the crowd