Showing posts with label Birthday Blooms. Show all posts

Thursday, 21 September 2017

Birthday Blooms in the Spotlight

Hello, a while ago I showcased the spotlight technique, using the gorgeous stamp set, Lovely as a Tree. At the time I also made this card using the same technique but in a slightly different way.

If you've seen many of my blog posts, you'll already be aware just how much I like Birthday Blooms - and how much it features in my cards.


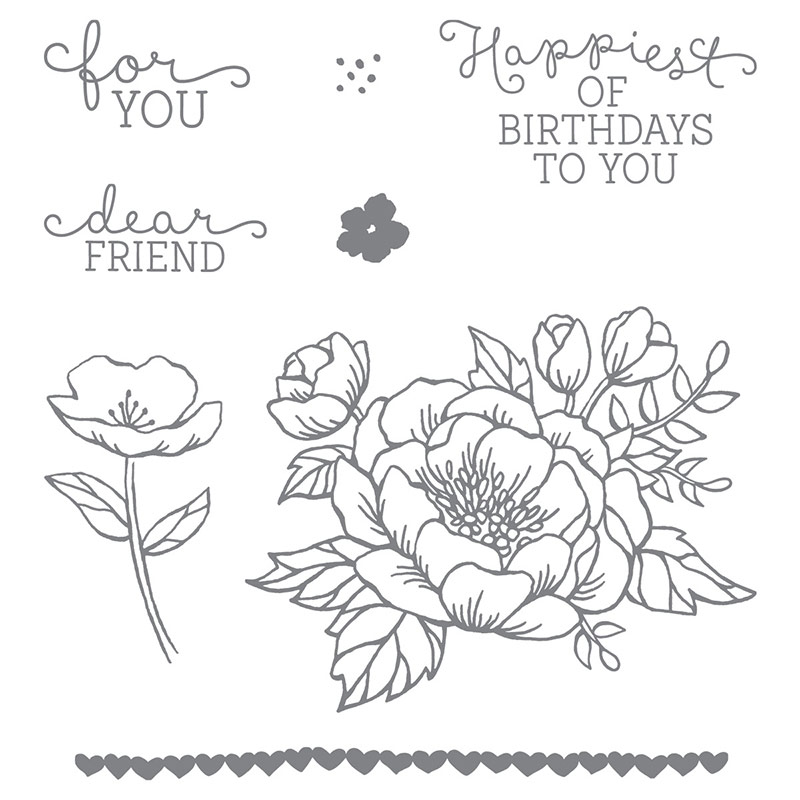
Now normally I love colouring this large stamp in, however this card only needed a hint of colour - in the area spotlighted!


I stamped my image on both Daffodil Delight and Whisper White card. Next I die cut a circle out of the image on the yellow card and put to one side for a moment. Using my watercolour pencils and a blender pen, I coloured in the corresponding area on the white card. The white card was placed behind the yellow, carefully matching the image up, using dimensionals for depth. This was then mounted onto a slightly deeper piece of Old Olive card to create a border top and bottom.


Saturday, 26 August 2017

Think I'm in Love...

On my last post I showed you a card I was commissioned to make for a birthday. Well I loved it so much that I made several more cards over the following days that were based on the same design. If you need to batch make cards or need one in a hurry this is so easy and so effective whether for Christmas as here with Merry mice, which has sadly been discontinued...


to say thank you to someone, using my favourite flower stamp, Birthday Blooms,,,


or to welcome a new baby, this time with Moon Baby...


The possibilities are virtually endless! 

Tuesday, 15 August 2017

The Joy of Sets Design Challenge 4 (Letter B) - Birthday Blooms

Hello, this week our challenge is to use a stamp set with the letter B in the title. Once again I went for Birthday Blooms. The other week I mentioned I had several ideas for this stamp set? Well this is the 2nd design I came up with that day based on the same theme.

One of my favourite stamp set

I chose to make a card to fit a DL envelope so although A4 cardstock is just short of 30cm in length, I cut across at 20cm and scored at 10cm. The remaining piece, once trimmed at the side was perfect for my top layer. I do so hate waste. Between the base card and top layer, I added Blushing Bride so that it created a narrow border.


Once again I used the Scalloped Tag Topper punch to create a cute tag in both vellum and Whisper White cardstock. This is a really card to make, I think less is more in this case but it does require careful measurement as there is nowhere to hide mistakes. Each of the 3 flowers line up in a row so to ensure they were level I brought out my trusty stamping press. 


The flowers stamped on card were water coloured loosely, going over the lines of the image. For the flower on vellum I chose to use ink and blender pens to colour in from the back as it had been heat embossed.


Did you know that you can colour the White Perfect Accents using Promarkers? Although I don't have that many I managed to find a reasonably good match for Blushing Bride as you can see in the picture. These 3 Perfect Accents balanced out the sentiment, stamped directly in the top left corner. I also wrapped some silver Metallic Thread round my fingers in a figure of eight before adding behind the tag.


Friday, 21 July 2017

Abigail's Birthday Again

Hello, have you ever sat in your crafting space, just waiting for inspiration to strike? Well that was me recently; I had started tidying it up but knew I needed to make a birthday card for my daughter, Abigail. The new me is trying to be organised. No leaving it until the day before it needs posting any more!


I wanted to incorporate heat embossing on vellum again after trying it out the other week. I chose to use Elegant Eggplant, Old Olive and Whisper White; more by luck than planning as it dawned on me while I was working that the Wimbledon tennis championship was due to start the following day. Does that give an indication as to how far in advance I was working?


I got my stamping press out to stamp the design on 2 tags in white card and vellum to ensure the design lined up. I used Versamark with white embossing powder for the vellum and black for the cardstock. With the card and vellum lined up I used the Scalloped Tag Topper punch which gives a very pretty top edge.  The corners at the bottom were rounder to continue the softness. I have more ideas flooding my brain using this punch. So many ideas, so little time.

While I coloured the design on the reverse of the vellum using ink pads and blender pens, I water coloured very loosely, going over the stamped lines, using the inkpads and aqua painters for an informal look. After matting and layering, I felt my card looked a tad too white; the tags needed to pop more. So, in keeping with the theme, I very quickly used my larger aqua painter to water colour the card, just running the brush backwards and forwards, leaving small area of white showing.

Neither ribbon in Old Olive or Elegant Eggplant showed up after a search of the craft room; wouldn’t have expected it to really as I have a very small stash of ribbons and embellishments. I did, however, have white! Although I now have very inky fingers, I also have Elegant Eggplant ribbon. So, my quick tip is to keep a supply of white ribbon of varying widths that can be coloured when needed.

Of course, because this birthday card is for Abby, it HAD to include a bee! I was so lucky to win Dragonfly Dreams; the bee is just perfect.

The finished design - I hope she likes it


Thursday, 9 March 2017

Happiest of birthdays

Hello again, todays offering is an understated floral design using Birthday Blooms. I had seen a tutorial on You Tube where a smaller piece of card was placed on top of the larger base card and then stamped. Sadly I can't remember whose video it was or what the completed design looked like. This is my take on that technique though so apologies if someone feels I should have acknowledged their work.


I found using my precision press invaluable for the task of stamping as it meant I could re stamp the base card - I'd used thick Whisper White so I could watercolour without my cardstock pilling, which meant the base card didn't stamp so well with the top card on.


close up


I have a confession, I used to be a little bit bothered about the idea of  watercolouring; I mean, trying to get light and shade in the right places seems so confusing....


...now I just try to make sure I use more depth of colour where there are more lines. Of course the other trick is to shade on the opposite side to where the light shines from. Although with flowers, I sometimes prefer to make the outer petals lighter.


I still haven't made up my mind whether to add a few gems to this so I'm leaving it as it is for a while and will look again later on with a fresh perspective. For now this is the finished product.


Wednesday, 22 February 2017

A Jar full of Birthday Blooms for Mother's Day

Hello, I don't know why. but for some reason today I just sat at my craft desk staring at my stamp sets. I mean it isn't as if I didn't have any ideas; problem was, I'm still in Xmas card mode! It isn't as if I didn't have ideas for other cards either, I just didn't want to make them yet. Anyway, a quick look on Pinterest kick started the thought process to combine the oh so versatile Jar of Love bundle with Birthday Blooms.


I thought it would make a nice change to colour these flowers in yellow, not a colour I use too often. Because I was water colouring again I stamped my image onto watercolour paper using Black Archival ink. I rarely fussy cut I have to confess, but this design really needed it and quite honestly, it wasn't too bad.


Some cards naturally evolve, just like this one. I debated at first whether to mat and layer so that I could stamp the jar directly as I don't have DSP in the right colours. However, it suddenly occurred to me that I could make my own just to add a little more interest. And as usual, I chose to stamp both inside the card and on the envelope.