Saturday, 25 February 2017

Mirror Stamping

Hello again, have you seen all the cards about with either mirror images or reflections? They are so on trend at the moment.I had often thought how nice it would be to be able to transpose an image but hadn't really thought about how it could be made possible before. Luckily lots of other people had the same thought and shared their tutorials.

Anyway, inspiration came at totally the wrong time when I was on the bus going to work! I hadn't even got a scrap of paper with me. As soon as I got into work I made a quick sketch much to the amusement of my co-workers. Needless to say from then to actually making it, the card has somewhat evolved


Once again I turned to Moon Baby, so far it's the only stamp set I've used from my latest order! At least I'm getting very good value for money from this set. I chose to use Sweet Sugarplum, Soft Sky and So Saffron thus ensuring my card is suitable for boy or girl. 


To get a mirror image, stamp onto a piece of acetate first and then put that facedown onto the cardstock. Make sure the acetate doesn't move whilst pressing down well. If you have a large enough photopolymer stamp then you could stamp directly onto the back of that instead of the acetate.

I covered a piece of Very Vanilla cardstock in my chosen design, stamping some images in reverse and some partially off the page to draw the eye out.. I left a space for placement of the sentiment.


I used ink pads with the blender pens to colour in the images while the sentiment only required the write markers.

To add a 3D effect I stamped the image on a spare piece of card, coloured it and then fussy cut it. Using dimensionals it was attached to the background. The sentiment was also raised up with dimensionals. As usual the inside of the card was stamped and coloured to give a finished look.


Inside


Wednesday, 22 February 2017

A Jar full of Birthday Blooms for Mother's Day

Hello, I don't know why. but for some reason today I just sat at my craft desk staring at my stamp sets. I mean it isn't as if I didn't have any ideas; problem was, I'm still in Xmas card mode! It isn't as if I didn't have ideas for other cards either, I just didn't want to make them yet. Anyway, a quick look on Pinterest kick started the thought process to combine the oh so versatile Jar of Love bundle with Birthday Blooms.


I thought it would make a nice change to colour these flowers in yellow, not a colour I use too often. Because I was water colouring again I stamped my image onto watercolour paper using Black Archival ink. I rarely fussy cut I have to confess, but this design really needed it and quite honestly, it wasn't too bad.


Some cards naturally evolve, just like this one. I debated at first whether to mat and layer so that I could stamp the jar directly as I don't have DSP in the right colours. However, it suddenly occurred to me that I could make my own just to add a little more interest. And as usual, I chose to stamp both inside the card and on the envelope.


Saturday, 18 February 2017

Ducklings Shoe Box Swap Event

Hello again, you may have seen my previous post about the Ducklings team meeting Shoe Box Swap. I blogged about my creation for the group. It was the first time I'd had to prepare for other crafters; something I found really enjoyable. So much so that I think I need to find an outlet for creating in the village! And since the village hall would be too big it looks like I might need to approach the hostelry just down the road!


Anyway, I wasn't the only one to post a sneaky peak. Susan posted on her fb page, just a little teaser but I loved the idea of using this set. It isn't one I yet own; certainly on my "must have" list so watch this space. I really liked the idea of thinking outside the box!

Everyone else appeared to be keeping their designs under wraps so I was really looking forward to seeing what we would be making.


I made a lemon cake to take with me so we all had some sustenance; can't beat a hit of sugar when you're crafting and the kettle was kept busy! As usual the crafty ducky made an appearance and kept a close eye on proceedings...
                                           ...and how much cake we ate!


Susan had prepared our first make


Susan was so organised, our first project, a gorgeous hexagonal box made with the Window Box Thinlit dies, was already set up. Susan had also been kind enough to give each of us some chocolate hearts, decorated beautifully, of course.


Next up after a break for a cuppa and slice of cake was my magic reveal card. I too had tried to be really organised with everything required stored in a cello bag for each person.


You can see more of this project on my previous post. 


After a spot of lunch it was Sue's turn to lead. As the newest member of the team, Sue was still waiting for her SU goodies to arrive so she gave us the choice of 2 gorgeous butterly designs based on a Darice embossing folder. Susan and I chose to use white on white - it's such an elegant scheme. We added some Dazzling Diamonds glitter using the Fine Tip Glue Pen to bring out the embossing more. Butterflies were die cut and added, I chose to use one larger butterfly but both Susan and Sue used 3. We haven't added a sentiment yet as this design would be suitable for so many occasions. It's such a simple yet effective card so I'm lucky that I have this embossing folder amongst my craft stash.

Close up of the glitter detail


It was lovely to finally meet our latest duckling; I'd spoken to Sue before when she called me to ask about SU. Sadly Annie wasn't able to attend due to family illness and Debbie was working. I'm sure schedules will allow us all to get together at some point though.


Wednesday, 15 February 2017

Shoebox Swap

Hello again,  recently I was asked if I could make the team meeting of Ducklings. Let me explain, when I joined Stampin Up, I did so under the guidance of my lovely upline, Susan. You may have seen her name crop up on here from time to time. Susan has her own blog, Craftyduckydoodah, so when I and another lady joined her team it was decided we would become ducklings! Our numbers have now doubled, thanks in part to the fabulous Sale - a Bration offers where you can order £130 worth of Stampin Up goods for the price of £99 plus free postage for this order AND 2 extra FREE stamp sets. This offer ends on the 31st March.

Anyway, back to the topic in hand, we have decided to get the team together for a chat, coffee, cake and crafting though it remains to be seen what the order will be. One suggestion for the crafting side is to  have a Shoe Box Swap. The idea being that we all design a card and then take all the bits and bobs required so that everyone can have a go at making it. This is a great way to try out new or different ideas and styles and possibly items we might not have.

I'd been wondering what to use from my latest stash of goodies; to be quite honest, I found the array of stamp sets, dies and embossing folders a little daunting. I eventually narrowed my suggested list down to 3 sets - Weather Together, Moon Baby and Sitting Here - when I was asked if I could use Moon Baby which is featured in the Spring/Summer catalogue.


So having decided on a stamp set, I now had to come up with a design that we could all do, taking into consideration that there were several cards to make...
                                                                                 ...and cake to eat as well (mustn't forget the cake!)

 I had originally thought of taking a shaker card I'd made but then a former colleague announced the birth of her gorgeous baby boy so that card was soon winging it's way to Suffolk. Unfortunately I didn't have quite enough acetate in my stash to make another card for demonstrating purposes so that idea had to be ruled out. It was while I was looking for inspiration that I found a tutorial for a Magic Reveal Spinner Card by Tanya DeRoy. I contacted Tanya and she has given permission for me to link to her You Tube tutorial. You can also find Tanya at https://inkresponsiblyau.blogspot.co.uk/  where you'll discover more fabulous projects she's made.


.
Pull the ribbon to reveal the second picture.


Difficult to see but clear Wink of Stella was brushed over the stars.

Preparations for the Duckling team meeting.


Saturday, 11 February 2017

Moon Baby for a beautiful baby boy... and his lovely mum and dad

Hello again, I heard the other day that a former work colleague had given birth to her first baby, a gorgeous boy called Hector. The timing was absolutely perfect as I'd received the Moon Baby stamp set a few days before in my order. Not only that but it was the first set I'd had a play with.

I loved the idea of cutting out a section of the stamped image which was done by partially die cutting and finishing off with fussy cutting. This technique is explained in detail in my Quick Tip no 3.


This in turn made me think of a shaker card. I coloured the image in with the new Stampin Up watercolour pencils and used the blender pen to move the colours around. For the background I used an aqua painter with the Night of Navy inkpad. A little clear Wink of Stella was applied to the stars for a shimmery effect,

The finished card

I just hope that the cards recipients approved of it when it arrived. I know I had fun making it.


Friday, 10 February 2017

Quick Tip no 3

Hello there, the other week I showed you how to die cut a shape without cutting the whole image. Well I've been asked by a crafty friend to explain how to cut out a convex (downward) shape of a stamp using a die. It really is so simple. I've remembered to photograph each step so hopefully you'll be able to understand how it works. Using this technique also means you'll never have to buy special dies for your Flip Flap cards.


First of all I stamped my image, in this case taken from the Moon Baby stamp set. I then decided which die made the best fit, matching the 2 end points - where I want to cut to. This die was secured in place with some low tack tape to prevent movement whilst cutting.


I then place my image and die onto the bottom cutting cutting plate. Depending on the shape and size you may need to rearrange the card so that the top plate fits through the die cutting machine.

The top plate should be placed so that it is placed ONLY over the area that needs cutting.


Once run through the machine, the die will cut only where the pressure of the top plate is, thus giving the partial cut required. The rest of the image can be fussy cut where needed to get the necessary effect. See, it is easy when you know how.


Saturday, 4 February 2017

Valentine take 2


Hello there, do you often use Washi tape on your cards? I have a confession to make, until I won some at a workshop I attended I didn't even own any, I just didn't think I would actually have a use for it.

That has now changed, today's card is a quick and easy Valentine card using Washi tape as the main focus. In the past I'd use DSP but that would involve lots of measuring and cutting so wasn't quite so ideal for an "I need it now" card.


My base card is Night of Navy and I cut a piece of Whisper White a little smaller so that I would have a narrow navy border showing. I die cut a heart in this piece of cardstock so this will be the front of the finished card. A couple of rows of tape were placed across the front under the heart and a simple stamped sentiment below that. I then cut another piece of Whisper White slightly smaller still and placed my Washi tape - Affectionately Yours - at a 45° angle, building up the rows until the cardstock was covered. If using a light base colour, you could just put washi tape directly onto it, remembering to leave a clear edge all the way round. I then attached the card with the heart cut out over the washi tape using dimensionals so that it was raised slightly. This in turn was attached to the base card using double sided tape.


So that's the basic card but to turn the card from now to WOW I have a couple of ideas.

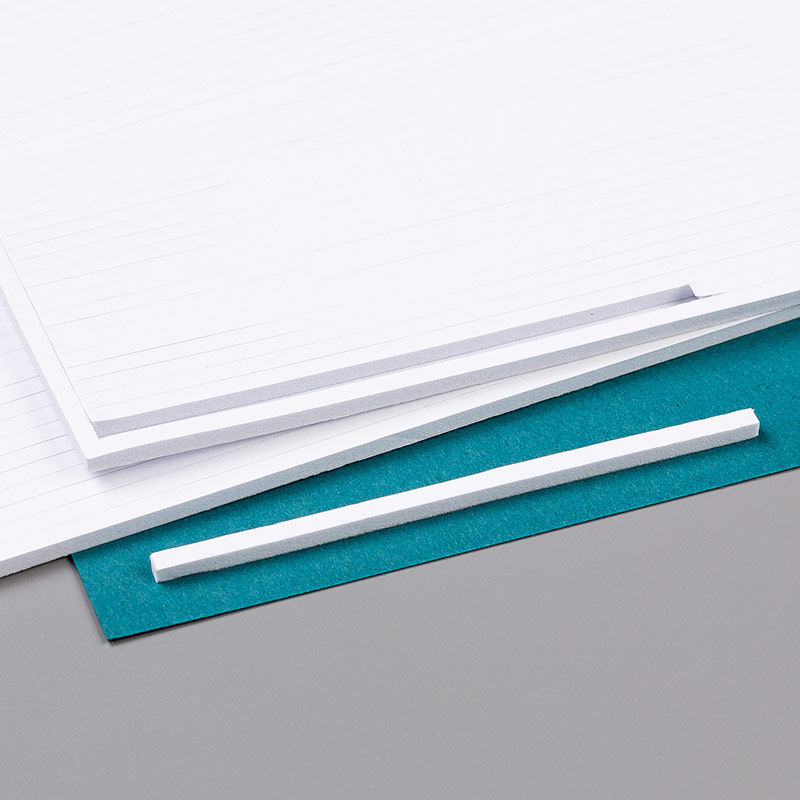
 First of all you could make a shaker card. To do this you would need to place acetate directly behind the heart. Place foam adhesive strips around the heart ensuring there are no gaps for the filling to escape.

There are several options for the shaker part including beads, sprinkles, sequins or die cut hearts or flowers. Do remember to add whatever you are using before attaching the backing. I know it may seem obvious to say but trust me, I've seen someone forget to add their sequins before now and then have to carefully peal the card apart to add them!


My next idea is to die cut and layer some flowers - around 3 would be good and place them to the lower right of the heart.

 For balance add something to the top left. I love butterflies so tend to choose them. An alternative is to stamp Bee mine or Bee my Valentine and, you've guessed it, add a die cut bee.

I'm sure you have lots of ideas of your own. For this post though I just wanted to demonstrate how you can make a simple and effective card with very little equipment and time. Obviously if you have the time and die sets you can quickly step up the basic card to create something quite spectacular. Keep looking out and at some point soon I'll feature a now to WOW design her


Friday, 3 February 2017

Quick Tip no 2

Hello there, do you have problems getting an even distance all round when using double sided tape to adhere cardstock with an even border all round? I know I used to and would avoid using tape, snail or anything else that didn't allow wiggle time. Even when I went to a Card and Coffee session, Susan, who ran the group, would offer me wet glue!

Until one day she suggested I try her technique. She claimed it was foolproof... well, that sounded like a challenge so I agreed to have a go. It took a few practise runs before I was confident but now I rarely use my wet glue unless it's to stick embellishments down. It also leads me to tell you about another quick tip; if you've stuck something down in not quite the right place, use a heat gun to warm up the adhesive and gently ease apart. Magic!


Anyway, lets get back to sticking. First of all, put double sided tape around the layer you want to stick down. Ease the backing up on one end of each piece, folding it up a little as in the first picture.


When you turn it over so the right side is upwards, you can just see the folded  tape backing paper raises the card stock up very slightly. Next take your backing card, in this instance I wanted to place my patterned card almost centrally across. Usually I create a small border all round.


I often judge by eye but this time, used a ruler to measure each end. At this stage the patterned card is only laying on the base and can be moved around until you're happy with the result.


Once happy with the placement hold down the card with one hand and gently start to pull the tape away. I pulled opposite short sides away so that I had a hand free to take the photograph. When removing the backing tape, keep it low to the base card stock. You should now have an evenly spaced mat. So simple when you know how!

I'd just like to thank Susan, aka Craftyduckydoodah for showing me this. Had it not been for her I'd still be knee deep in glue! Please keep an eye out for my quick tips over the coming weeks. Whilst I admit I'm still learning myself, if I find easy ways to complete tasks I'll share them with you.